Showing posts with label fried. Show all posts

Thursday, 17 December 2015

Corn Bread with Radish (Makkai ki Roti) [Classic Indian Vegetarian and Grain Cooking]


This cornstarch roti from the Indian Vegetarian cookbook is one of those recipes where I kept on saying "that can't be right, that's not going to work, this is clearly the wrong texture", and yet, I'm glad I stuck with it exactly, because it turned out actually pretty well!

Cookbook Recipe:


Ingredients:

  • 1 cup packed grated daikon radish (don't press the water out of it)
  • 1/2 tsp coarse salt
  • 1 cup "fine ground corn flour" (this is the British term for cornstarch)
  • 5 tbsp water
  • 4 tbsp unsalted butter

Following the cookbook recipe exactly:

Is it supposed to be this soupy? It still works, though.
1. In a bowl, mix the radish and salt. Add the cornstarch and mix well with your fingers, pressing the water out of the radish. Add the water 1 tbsp at a time, mixing well. The "dough" turns pretty soupy at this point, and it's kind of hard to "divide it into 8" when it's mostly liquid.


2. Cut 9x9 inch pieces of wax paper and have a bowl of water handy to wet fingers. Spread an eight of the dough into a thin 5 inch round circle on the wax paper.

Again, it shouldn't work, but it does.

3. Heat a frying pan over medium for 3 minutes. Carefully flip the round onto the griddle with the paper still attached and peel the wax paper off. Cook on one side for 3 minutes, the other side for 2.


4. Add 1 1/2 tsp butter and fry the bread for 1 minute on each side. Repeat for the rest of the batch.

The Outcome:


This actually works! I was expecting it to be a runny mess, but as soon as it hit the heat, it came together into a solid roti. It fried up nicely, and I really liked the slightly glutenous texture from the cornstarch. My only problem is that most of the water evaporates in the first few minutes, so one side stays a bit harder and paste-white. Frying it in the butter helps brown it a bit.

Tuesday, 17 November 2015

Light My Fire Potato-Parsnip Latkes [The Veggie-Lover's Sriracha Cookbook]


I figured I'd pick a recipe from the vegan Sriracha cookbook that's a bit more seasonal - something containing one of my favourite root veggies - parsnips! At first glance, this latke recipe is a bit different - the normal use of egg and flour to hold the potato together has been swapped for mashed parsnip. While it looks good on paper, we'll have to see if the texture holds itself together.

Cookbook Recipe:


Ingredients:

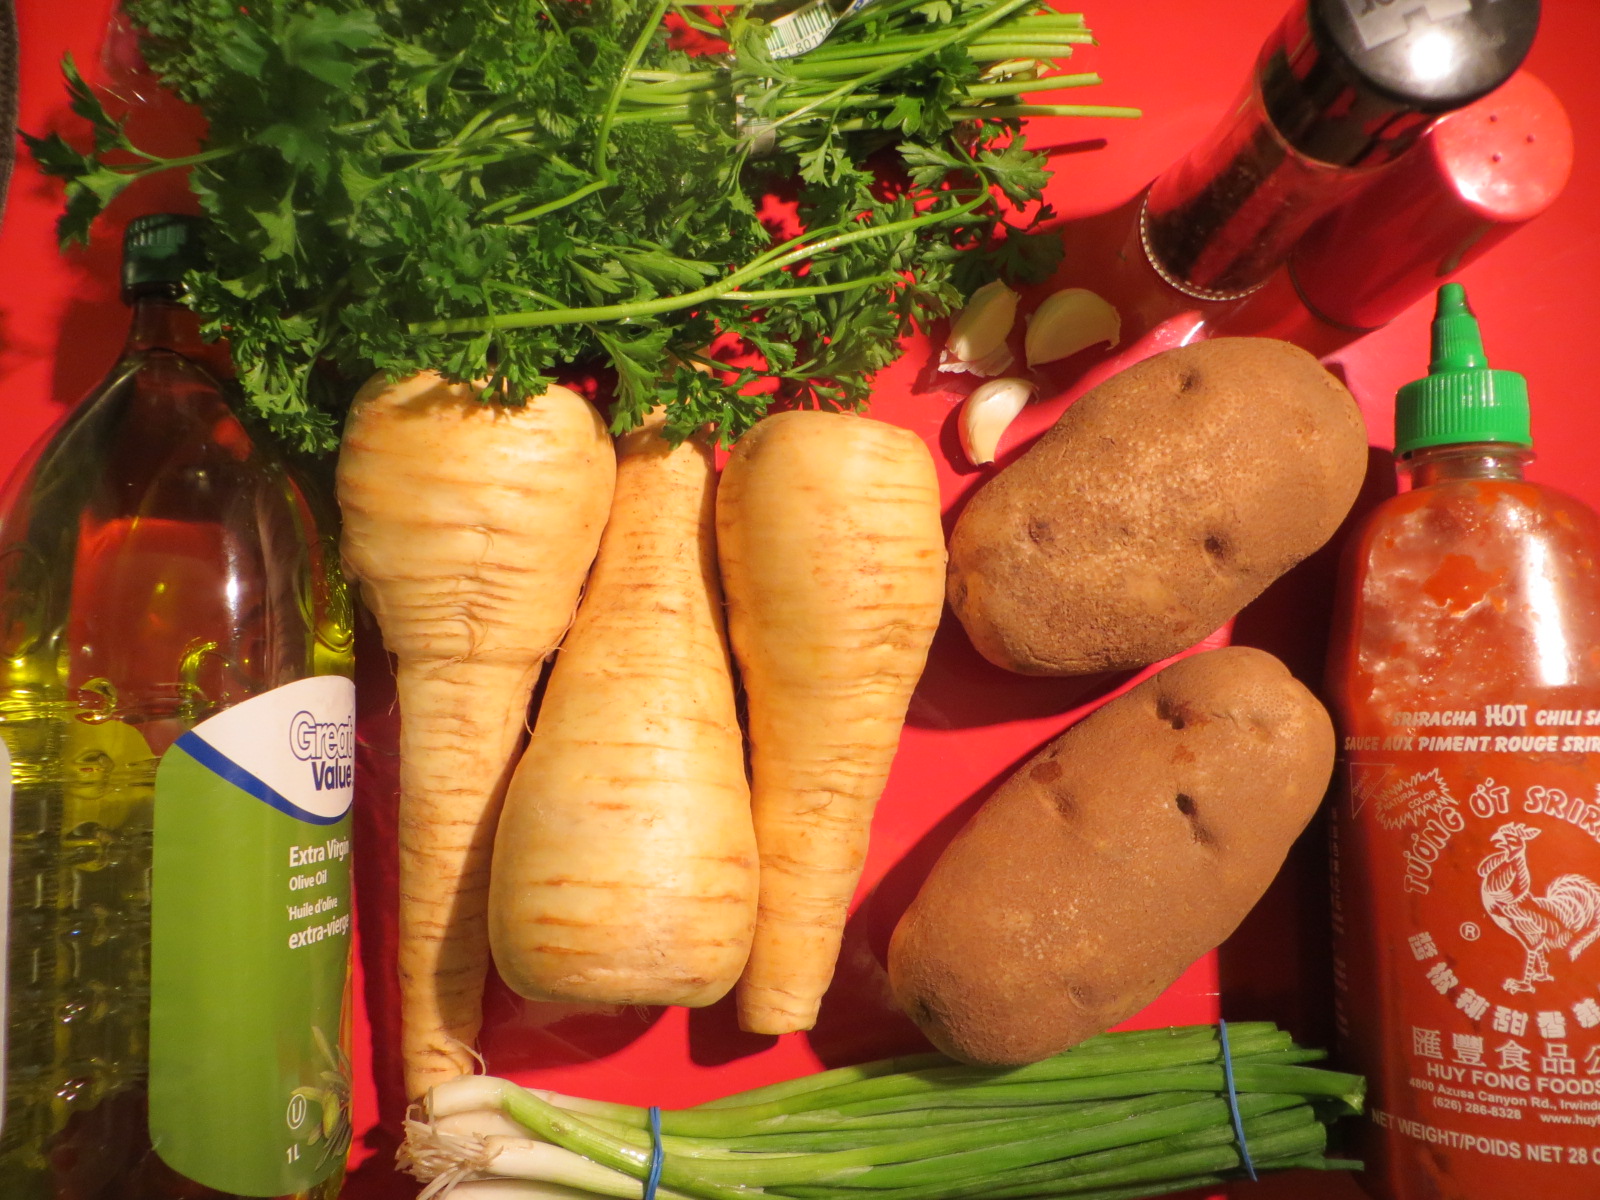
  • 3 large parsnips
  • 2 tbsp extra-virgin olive oil, plus more for frying
  • 2 large russet potatoes
  • 1 bunch green onions, green part only, sliced diagonally (they cookbook doesn't specify how thinly they should be sliced, but I tried to keep them reasonably fine)
  • 1/4 cup chopped flat-leaf Italian parsley (I had to make a necessary compromise with regular parsley because that's all the grocery store had and I wasn't bicycling through a rainstorm to find a single bunch of Italian parsley. Sue me.)
  • 3 cloves garlic, minced
  • 1/4 cup Sriracha
  • salt and pepper to season
The cookbook recommends vegan sour cream or applesauce as optional toppings.


Following the cookbook recipe exactly:


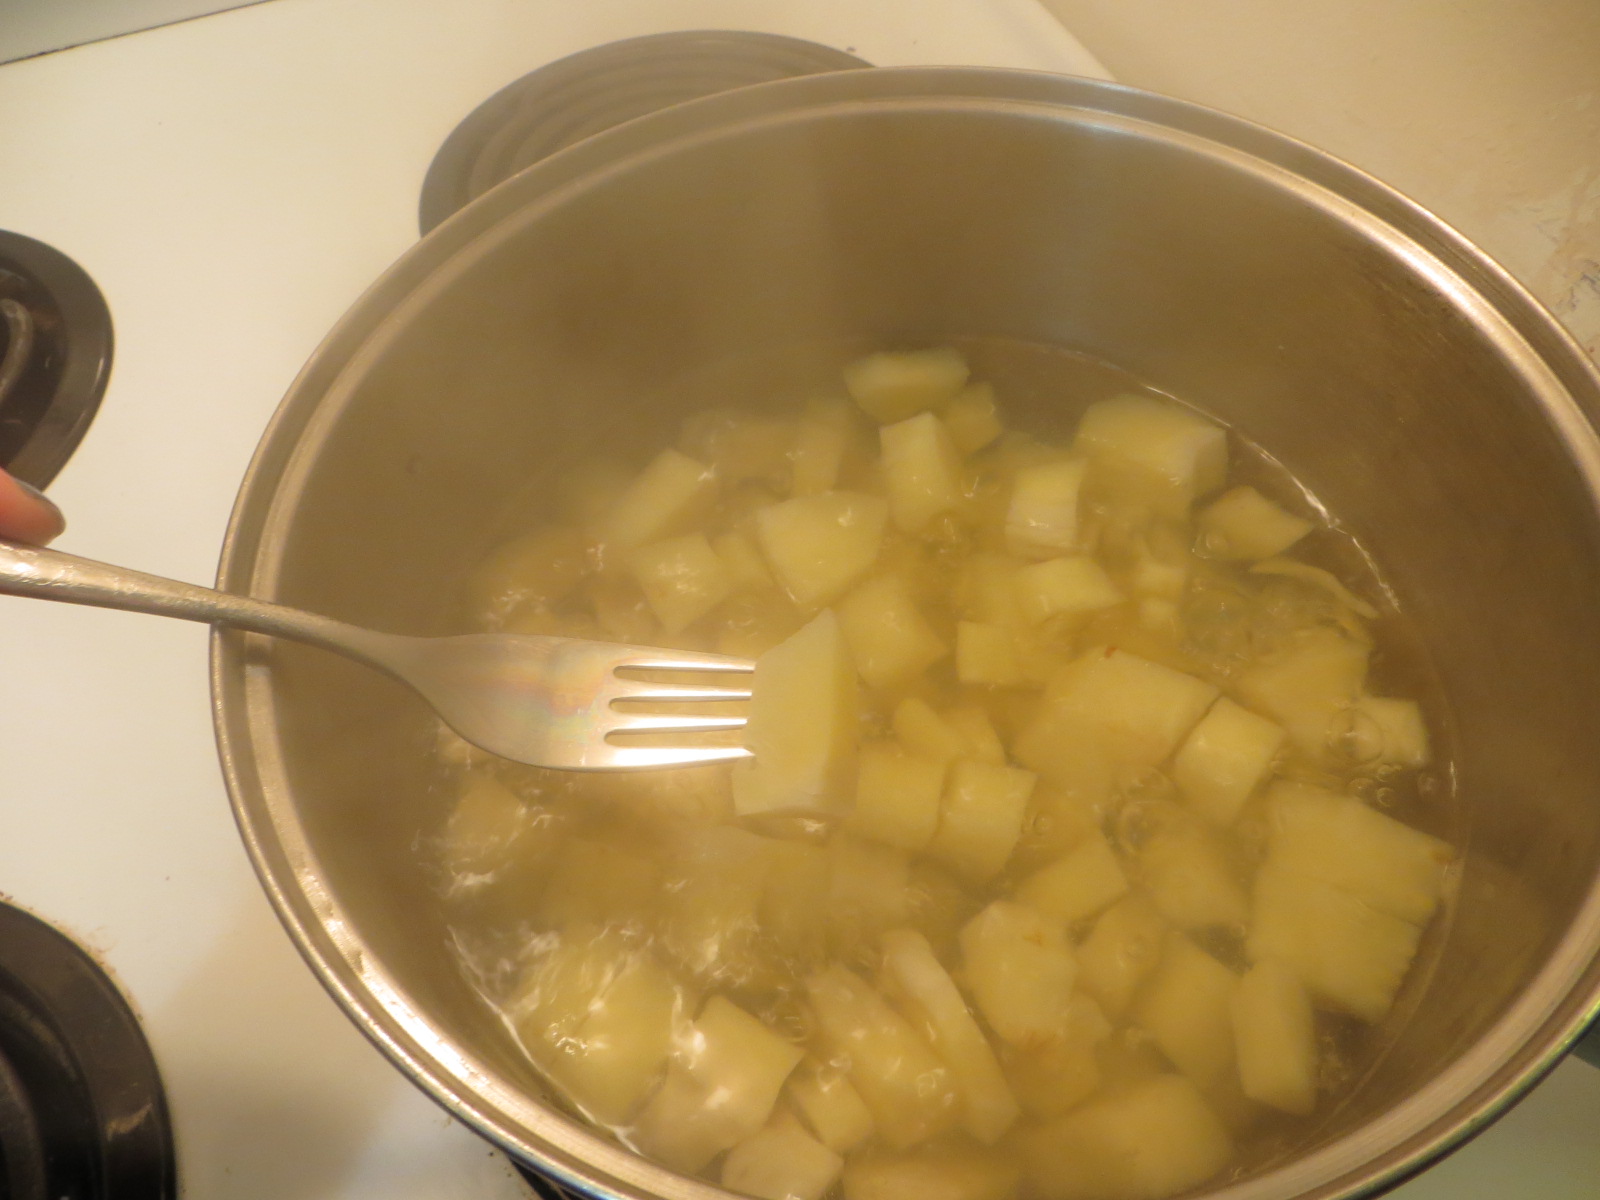
1. Bring 1/2 inch of water (an oddly specific amount for this) to a simmer over medium. Dice two of the parsnips (the cookbook doesn't specific if you peel them or not, but parsnips can be kinda grubby and hairy, so I took that as unspoken) and simmer in the water for five minutes, until fork-tender.

Goopy goodness

2. Drain the parsnips and pat dry with a clean towel or paper towel. What the cookbook does not mention is that these parsnips will still be incredibly hot, so good luck if you use a paper towel. Put the parsnips in a blender and while the blender is running, dribble in the 2 tbsp of olive oil, processing until smooth. The blender will goop up at this, but fortunately scraping down the sides with a spatula helps blend the mashed parsnips as well as the blades do.

3. Since this recipe makes several batches of latkes, the cookbook recommends you preheat your oven to 200F and put a wire rack on a tray or a foil lined baking sheet in the oven to transfer your latkes to as you cook them in order to keep them warm. I did do this step, but since I'm just cooking for myself and planning to refrigerate the leftovers, it's wasn't super necessary for me.

Take THAT

4. Peel and grate the remaining parsnip and the potatoes. Squeeze the grated roots by hand in a strainer over the sink to press out as much water as possible.


5. In a large bowl, mix the grated roots, the mashed parsnips, green onions, parsley, garlic, and Sriracha. Mix well and season.


6. Heat about 1/4 inch oil in a large skillet to a high heat. Take about 1/4 cup of mixture and form it into flat patties about 1/2 inch thick. Fry in the oil for 4 minutes each side, until crisp and dark brown. Keep warm in the oven as you fry more batches. The cookbook doesn't mention it, but you likely will have to add more oil between batches.

The Outcome:

So shiny!

Man, I don't know. Hot out the pan, the taste is pretty good. There is a distinct parsnip flavour that goes well with the Sriracha. However, the consistency is a bit off - the mashed parsnip doesn't hold it together as well as it should, and despite the high heat and the straining, these are soggier and oilier than normal latkes. I'm havering about these - I like the idea of parsnip and Sriracha latkes. I would probably remake these with egg and flour added - unfortunately the egg destroys the whole vegan intention of this recipe.

Saturday, 10 October 2015

Russian-Style Chicken Cutlets [Quick From Scratch Chicken, Turkey & Cornish Hens]

Not as pretty, but it works out in the end.

The first test recipe from the Quick From Scratch Chicken, Turkey & Cornish Hens cookbook is for Russian-Style Chicken Cutlets. The "Russianness" seems to come from the inclusion of dill, but a bit of googling suggests this recipe is based on a Russian dish called "Pozharsky Cutlets" dating back to the 19th century.

The recipe warns that ground chicken can often be "disappointingly dry" and so uses cream and a fair deal of butter to make it moist. Between the half-and-half, the oil, and the butter, this is definitely not a diet dish.


Cookbook Recipe:

Ingredients:
  • 2 slices "good-quality" white bread, crusts removed (not sure what constitutes "good-quality", but I got a fresh loaf from the grocery store's in-house bakery)
  • 1/4 cup half-and-half cream
  • 1 lb ground chicken (yes, the special deal was that it was only $5 instead of $7. Yes, chicken is that expensive in Canada.)
  • 1 egg
  • 1/2 tsp salt
  • 1/4 tsp fresh-ground black pepper (the cookbook was very insistent on fresh-ground)
  • 1/2 tsp dried dill
  • 5 tbsp butter, 3 of them at room temperature
  • 1 cup dry bread crumbs
  • 2 tbsp cooking oil
Following the cookbook recipe exactly:

1. Break the bread into pieces and put into a bowl. They didn't specify how big the pieces should be, so I tore it up into moderately small chunks. Soak the bread in the half-and-half until it's absorbed, about 2 minutes.


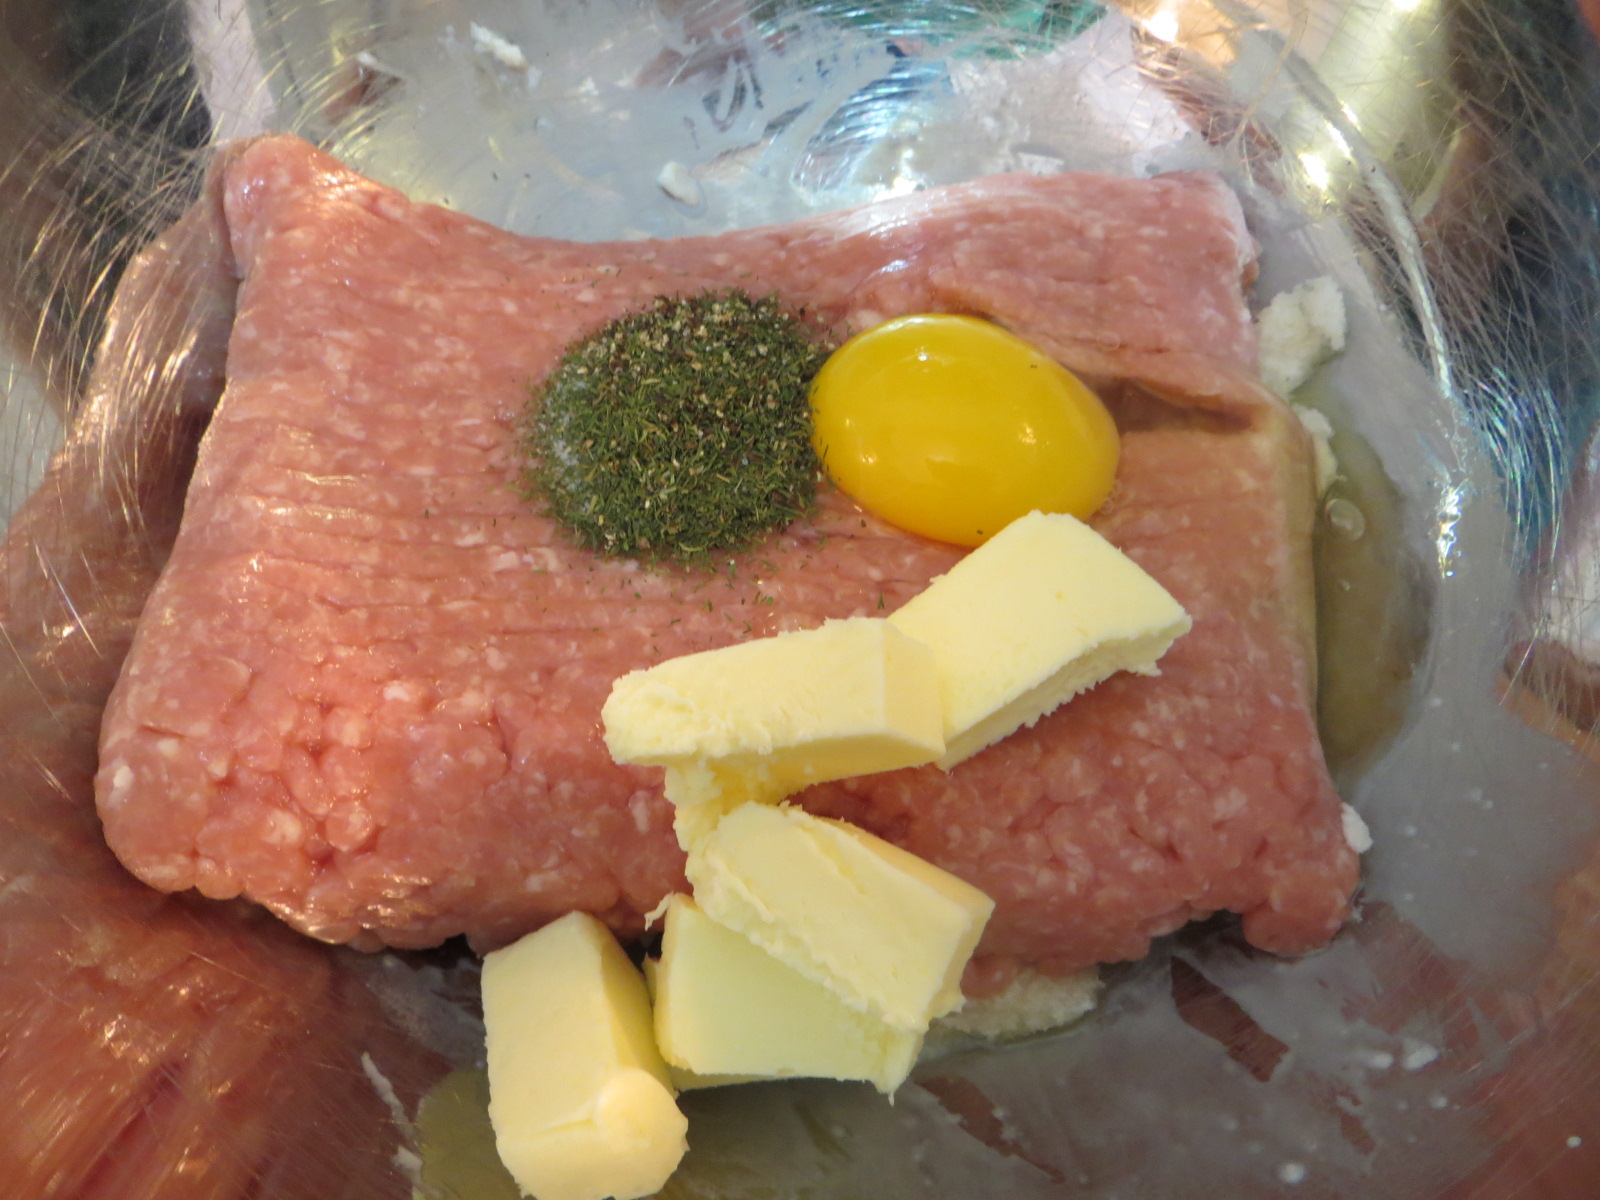
2. Mix in the chicken, egg, salt, pepper, dill, and the 3 tbsp room temperature butter in with the bread. This is the first issue I had with the recipe - as the room temperature butter hits the cold chicken that you've just taken out of the fridge, it becomes firm and hard to incorporate. You're left with pretty big butter chunks in the chicken mix and you have to work pretty hard to blend them in.


3. Put the mix into the freezer for 10 minutes.

Yum.

4. The recipe warns you that the chicken will still be "very soft" when taken out of the freezer. Form the mixture into four oval cutlets and coat with breadcrumbs. Heads up that the consistency of the chicken is very weird - it feels like it's about to fall apart, but it's also very sticky. It will definitely form cutlets, but there's no way they'll be as pretty as the picture without using some kind of press or mould.


5. Melt the remaining butter AND the oil in a nonstick frying pan, and cook the cutlets until "golden brown and just done", which is 4 to 5 minutes per side. I had to split it up into two sets of two, since that's all I could fit into my frying pan.


The cookbook suggests a side of sauteed mushrooms, which sounded like a good idea. I deglazed the pan and sauteed the mushrooms with a bit of garlic salt. The wine recommendation was an "uncomplicated red wine", such as a French Beaujolais or a merlot from Trentino in Italy. Since I live in the part of Canada with government liquor stores, I did wrangle a merlot, but they didn't have a Trentino.

The Outcome:


This is pretty good! The weird consistency of the raw chicken cooks up well - the cutlets don't fall apart and the breadcrumb crust is nice and crispy. It's definitely on the buttery side - there's a LOT of butter in here, and it's not dry in the least. I think the firmer butter meant that the butter was less incorporated, so there were little buttery pockets in the chicken. The dill flavour is very subtle, so if you like dill you can always add a bit more. I think it might take some practice to deal with the consistency, but the only real suggestion I would make would be to soften the butter instead of just letting it go room temperature - that way it can incorporate better. It does go well with the mushrooms and wine, though I think the already subtle dill flavour gets overwhelmed when eaten with sides/wine.